Creating a Project and Uploading Data
1. Log in to your account
- Go to GEO4X and log in with your username and password.
- Once logged in, you'll be taken to your dashboard.
2. Create a new project
Steps :
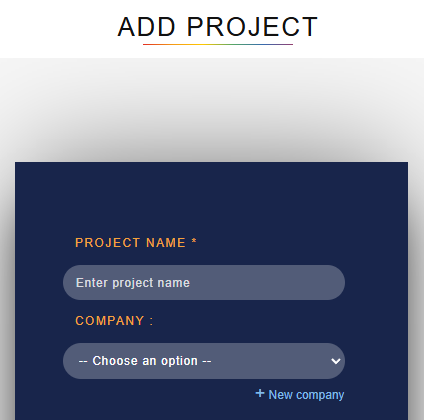
- Click on "Add a project".
- Fill in the following fields:
- Project name (e.g. "Roof inspection March 2025")
- Associated company
- Location (optional but recommended)
- Click on Validate.
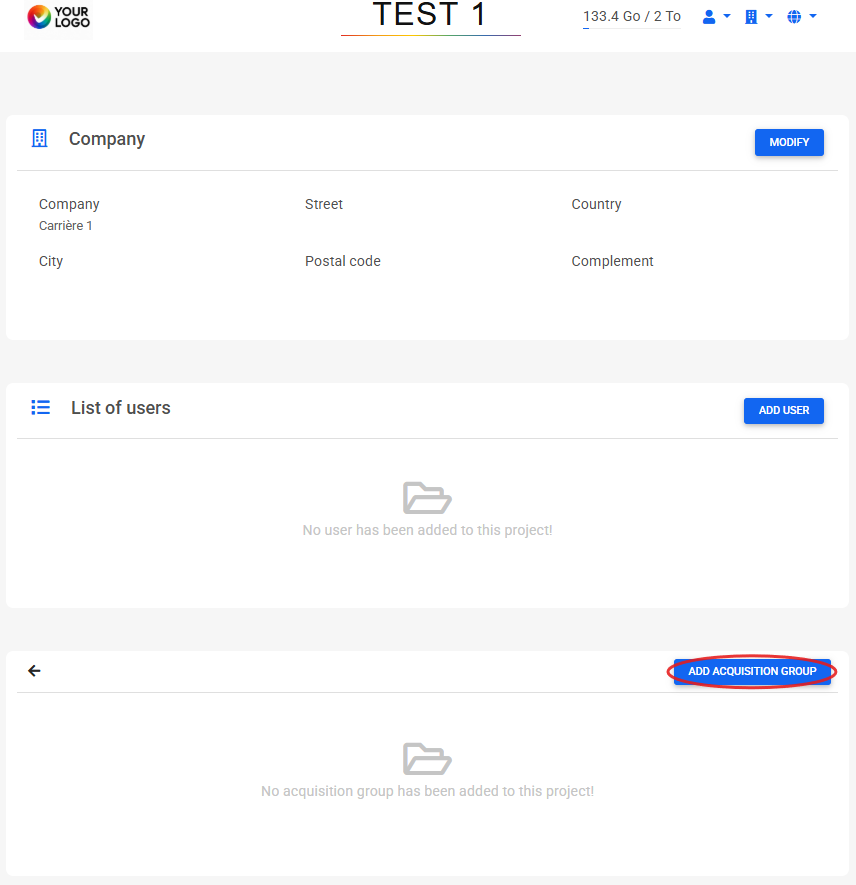
3. Add an acquisition group
📂 An acquisition group allows you to organize a batch of files linked to a date or mission.
Steps :
- Open the project, then click on "Add acquisition group".
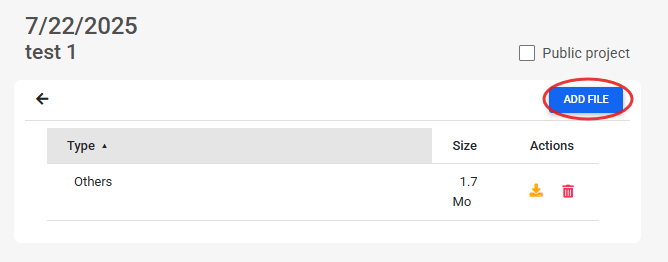
- Enter the mission ate.
- (Optional) Add a designation to better identify the grouping.
- Upload your files (supported formats: .kml, .geojson, .las/.laz, .e57, .tiff, thermomap)
🗂️ Frequently used file types:
- Orthophotoplan
- Point cloud
- Digital Elevation Model (DEM/DTM) → ⚠️ essential for linking 2D and 3D
Note
Once your first file has been added, you can complete the project by importing the other datasets (point cloud, orthophotoplan, DEM) directly into the same grouping. This will enable you to benefit from integrated 2D and 3D visualization
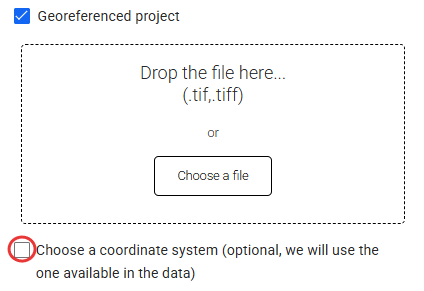
💡 Worth knowing:
- GEO4X automatically detects the coordinate system.
- If required, you can force it manually.
- You can notify a manager by email at the time of upload by checking the dedicated box.

⏳ A message will confirm that processing is underway (a few minutes minimum, depending on file size).