Topographic Profile
This documentation aims to guide the user through the steps to create topographic profiles from a point cloud.
A topographic profile is a representation of elevation changes between two points.
This tool is particularly useful if you want to gain a better understanding of your terrain, view your data from a different perspective, or calculate slope values
✅ Create a Topographic Profile
- Create a line along which the profile will be drawn using the distance tool (for more details on the distance tool, see Measurements and annotations ) in either the 2D or 3D viewer.

- If you created the line from the 2D viewer, switch to the 3D viewer.

-
Select your line from the left menu.
-
Click the “Generate Profile” button.
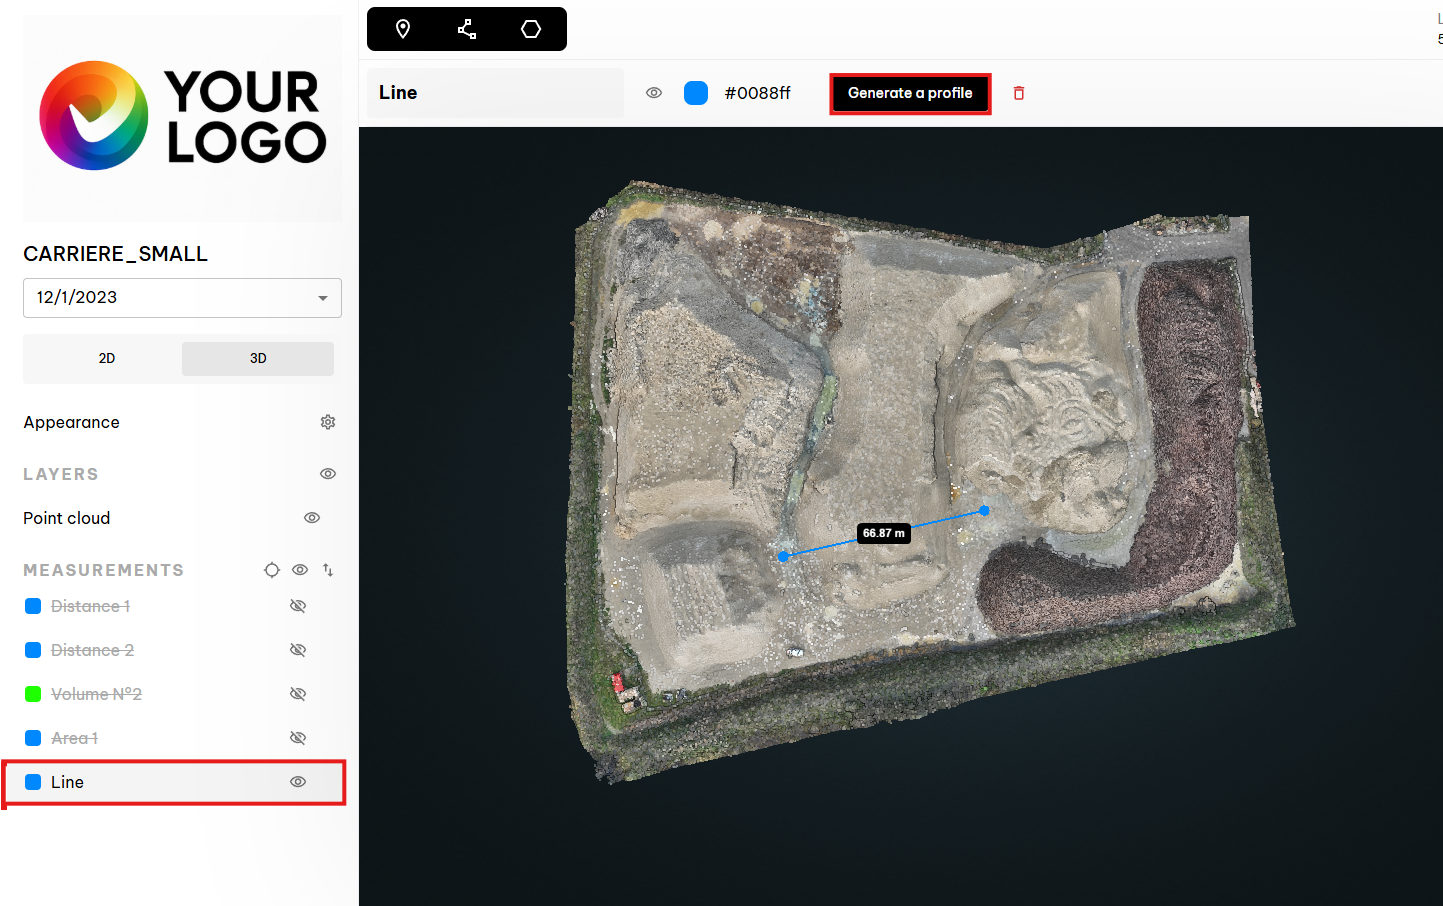
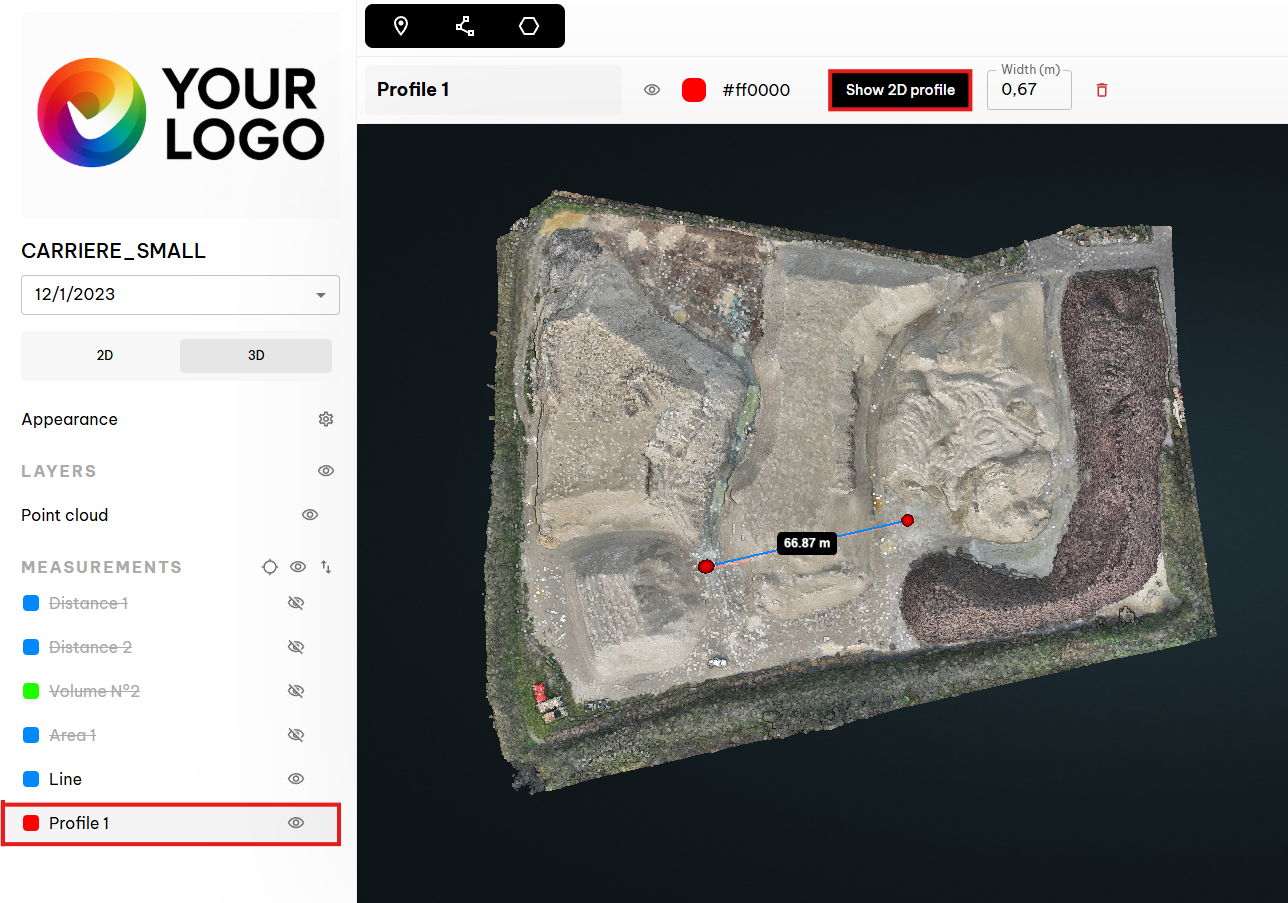
A new layer named “Profile 1” is added to your measurements menu. All points forming the profile are displayed in red in the viewer.
To avoid unwanted points caused by perspective, draw the line from the 2D viewer or switch to top-down view.
✅ View a Topographic Profile
-
Select your profile from the left menu.
-
Click the “Show 2D Profile” button. The topographic profile will open in a new window.
-
Browse your profile using the mouse to access detailed information for each point:
- X and Y coordinates
- Z elevation
- Associated RGBA color code
- Distance from the profile’s starting point
The profile includes all points within a customizable-width band centered on your line.
✅ Edit a Topographic Profile
You can edit your topographic profile at any time:
-
Refine / Densify your profile by adjusting the width of the point selection band.

-
Shift the profile up or down using a custom step size to scan terrain variation around the original line.
![]()
- Apply a rotation to the profile using a custom angular step to scan the environment in 360°.
![]()
-
Delete your topographic profile by clicking the delete icon in the top menu.

✅ Export Your Profile
Export your topographic profile easily in CSV or LAS format.
![]()